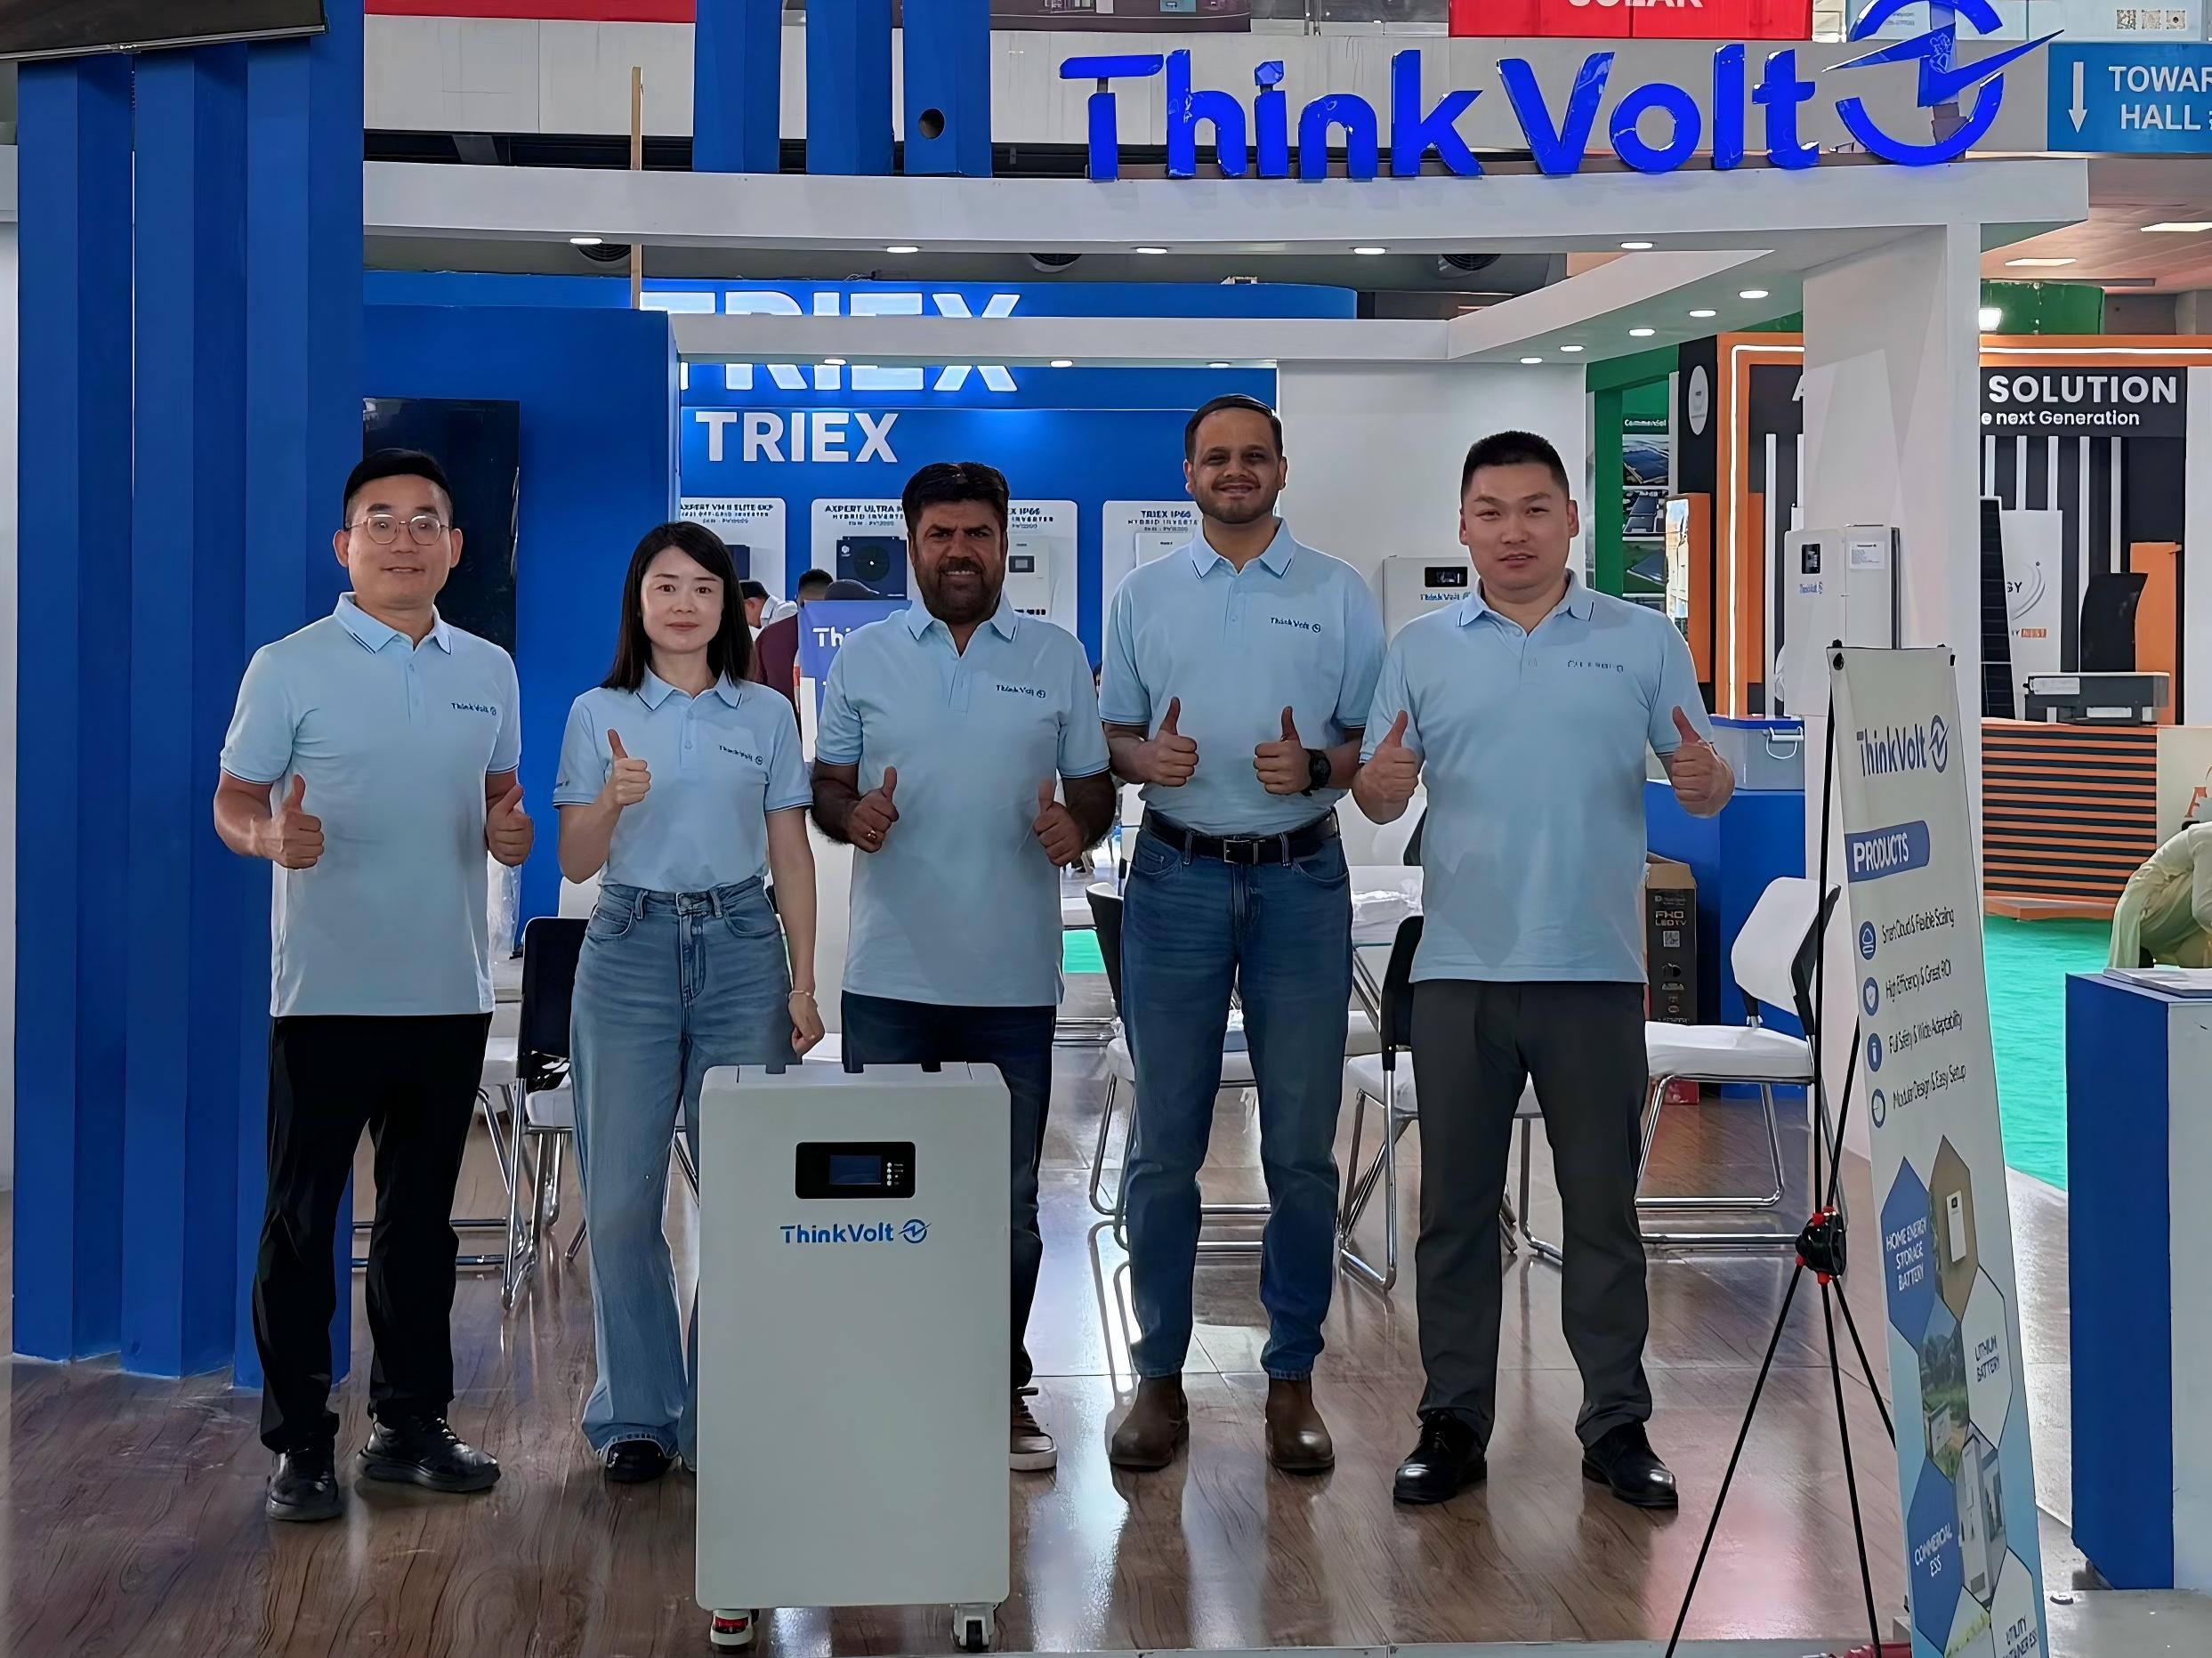
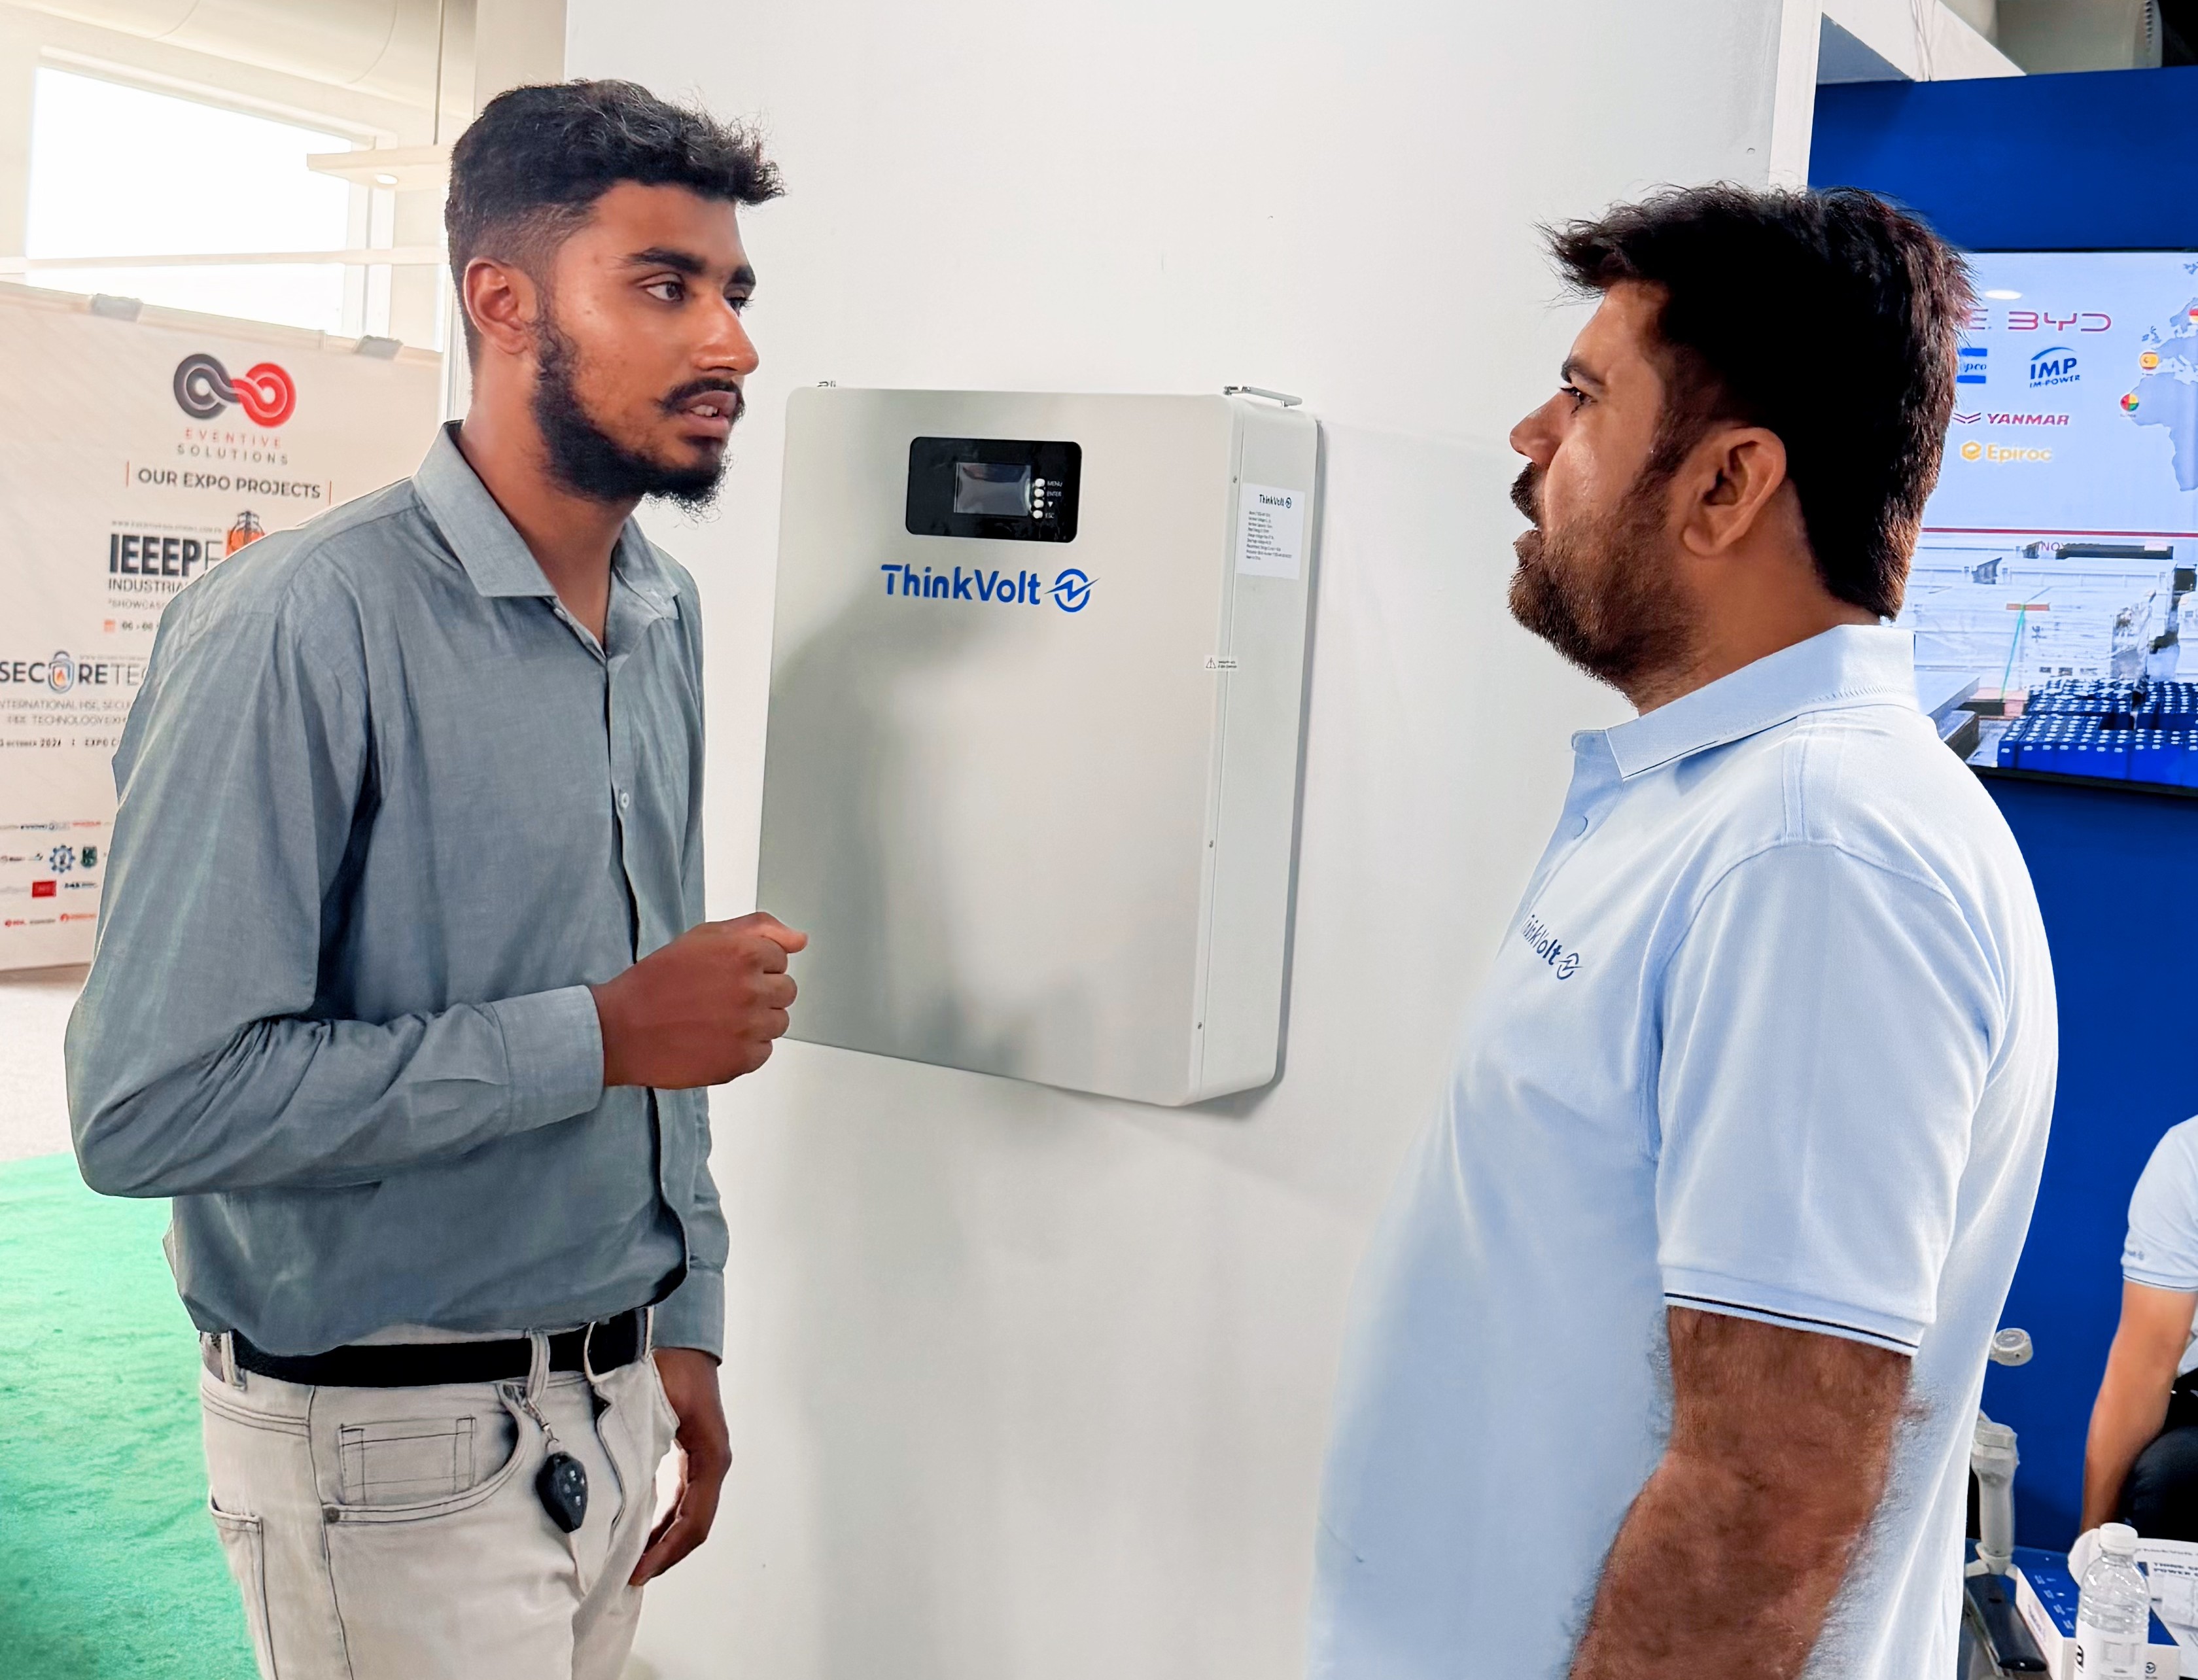
ThinkVolt at Solar & Storage Expo Pakistan 2026: Connecting with Pakistan’s Energy Storage Market
2026-07-23
A home energy storage battery may look simple once the enclosure is closed, but inside the battery is a carefully assembled system of cells, electrical connections, wiring, structural components, and monitoring circuits.
For a high-capacity battery, the production process becomes even more important. The cells need to remain securely positioned, electrical connections need to be consistent, internal wiring needs to be properly installed, and the completed battery needs to operate normally as a complete system.
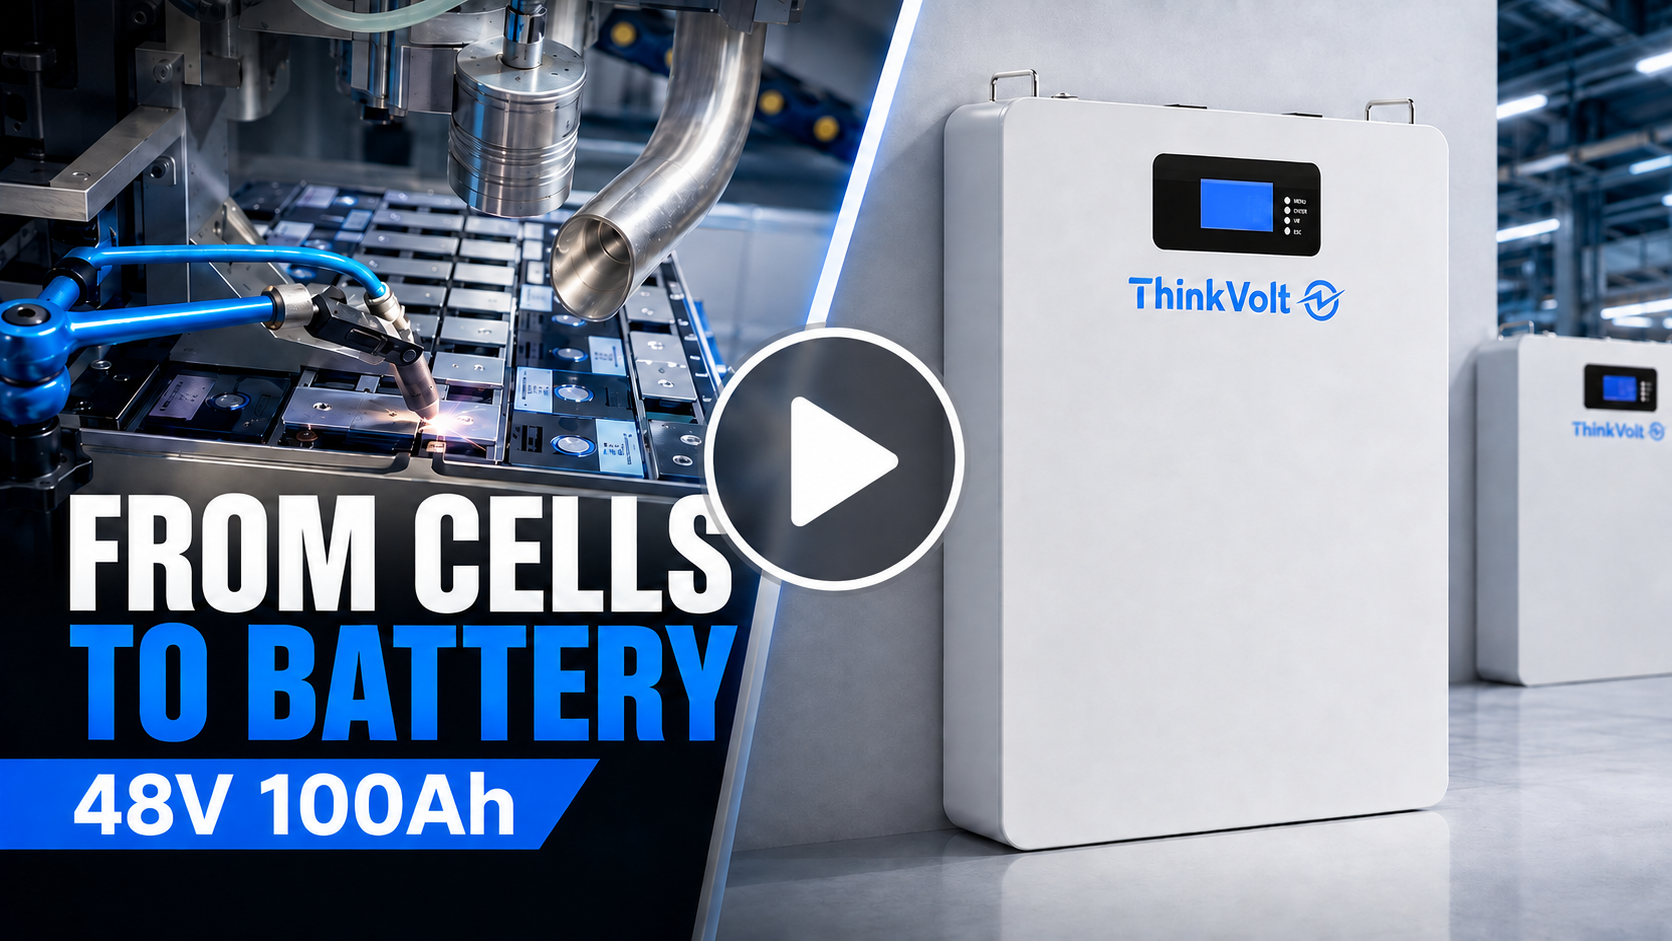
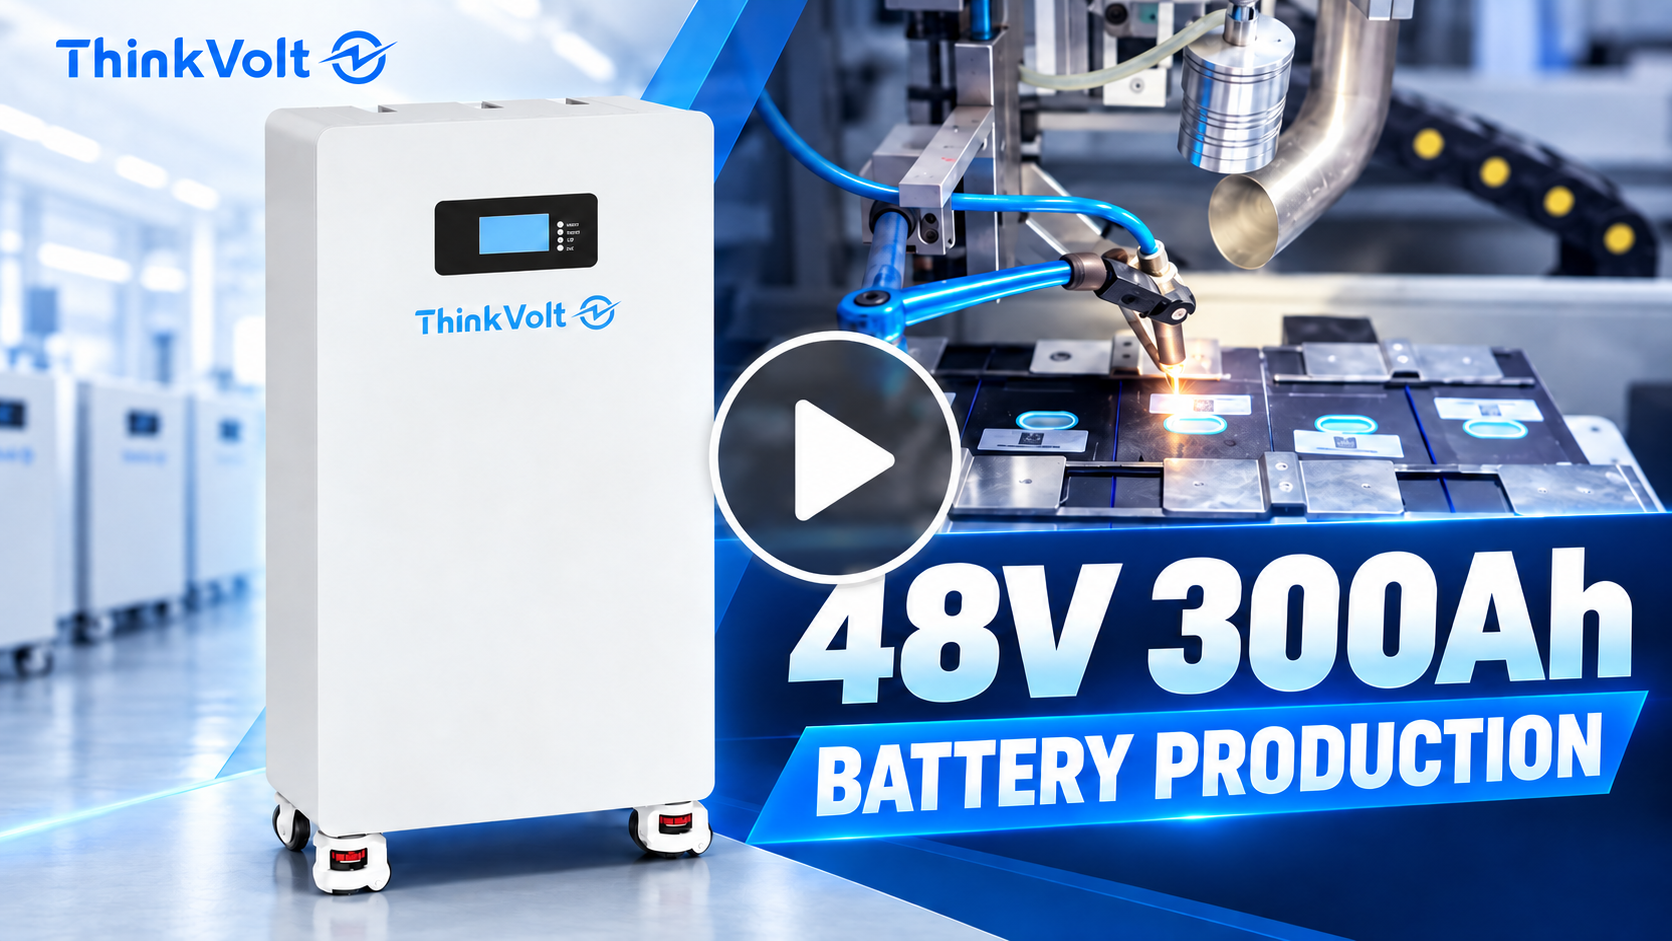
In this article, we take you inside the ThinkVolt production line and show how our 48V 300Ah floor-standing home energy storage battery is assembled step by step — from cell placement and structural fixing to laser welding, wiring, charge and discharge testing, and final assembly.
You can also watch the full production video to see each stage of the process in action.
Producing a home energy storage battery is not simply a matter of placing LiFePO4 cells into a metal enclosure.
Each stage prepares the battery for the next one.
Cell positioning affects the stability of the battery pack. Connection plate positioning affects the welding process. Welding quality affects the electrical connections. Internal wiring needs to be properly secured before testing can begin.
Only after these assembly and testing stages are completed does the battery become a finished product.
Here is how the process works.
The production process begins with the battery cells.
Before the cells are placed into position, insulating materials are installed around the battery cells and separators are added between them.
These materials help provide electrical insulation while also reducing direct contact between neighboring cells.
The cells are then carefully positioned inside the battery structure.
During this stage, appropriate spacing is reserved between the cells. This allows for slight cell expansion and helps accommodate vibration that may occur during transportation.
For a large-capacity 48V 300Ah battery, maintaining an organized and stable internal structure is especially important because all later assembly steps depend on the cells being correctly positioned.
Once the cells are in place, the battery pack needs to be mechanically secured.
Workers use screws and structural components to fix the cells and surrounding assembly in position.
The purpose of this stage is straightforward: the battery cells should remain stable inside the enclosure rather than moving unnecessarily during transportation, installation, or normal use.
Mechanical stability is an important part of battery pack manufacturing because a reliable electrical system also needs a stable physical structure.
At this point, the basic internal structure of the floor-standing battery begins to take shape.
The next step is preparing the electrical connections between the cells.
Aluminum connection plates are positioned on top of the battery cells.
These plates connect the cells together as part of the complete battery pack.
Accurate positioning is important before welding begins. If a connection plate is not correctly aligned, it can affect the consistency of the following welding process.
For this reason, the plates are carefully placed and checked before the battery pack moves to the laser welding stage.
After the connection plates have been positioned, the battery pack is transferred to the laser welding machine.
Automated laser welding is used to complete the connections between the battery cells and the aluminum plates.
Compared with relying entirely on manual welding, automated laser welding allows the welding position and process to be controlled more consistently.
This becomes particularly important during batch production.
The goal is not simply to produce one good welding point. A battery manufacturer needs to achieve repeatable connection quality across multiple cells, battery packs, and production batches.
More consistent welding can help reduce problems associated with welding deviation or poor electrical contact and provides a reliable connection for the battery during long-term charging and discharging.
For distributors, installers, and OEM customers, production consistency is especially important when batteries are being supplied in larger quantities.
Laser welding is not the end of the connection process.
After welding has been completed, the internal battery area is checked and cleaned before the next assembly steps begin.
Workers remove debris and remaining materials from the production process and inspect the working area around the battery cells and connections.
Keeping the inside of the battery clean is important because additional wiring and electrical components still need to be installed.
This stage prepares the battery pack for the internal electrical assembly that follows.
The next step is the installation of the sampling wires.
These wires form an important connection between the battery cells and the battery monitoring and management system.
During installation, the sampling wires are carefully positioned and secured.
The screws at the connection points also need to be tightened properly.
This may look like a relatively small part of the production process, but wiring details matter. Loose or poorly organized connections can create problems later, which is why the internal wiring needs to be installed carefully before the battery moves into testing.
The completed wiring is also arranged to keep the internal layout organized and reduce unnecessary movement inside the enclosure.
After the major internal connections and wiring have been completed, the battery is prepared for testing.
At this stage, the battery is no longer just a collection of assembled components.
The cells, electrical connections, wiring, and battery management components now need to work together as one complete system.
This is why testing is an essential part of battery production.
Before the external enclosure is completely finished, the assembled battery needs to demonstrate that it can charge, discharge, communicate, and operate within the expected range.
The assembled 48V 300Ah home battery is connected to testing equipment and an inverter for charge and discharge testing.
During the test, technicians monitor operating data in real time.
The system can display key information such as:
Battery voltage
Current
Temperature
Charging and discharging status
Other operating data
Monitoring these parameters helps confirm that the battery is functioning normally as a complete energy storage system.
This stage is important because battery quality cannot be judged only by cell specifications or individual components.
The finished battery pack needs to operate correctly after the cells, BMS, wiring, connections, and other components have been assembled together.
For customers, this is one of the most important parts of the production process.
A battery may have the right capacity and voltage on paper, but the complete system still needs to perform correctly in real operating conditions.
Once testing has been completed, the battery moves to final assembly.
The top cover is installed and secured to the battery enclosure.
At this stage, most of the internal cells, electrical connections, wires, and other components are enclosed and protected inside the battery housing.
The product now begins to take on the appearance of the finished floor-standing home battery that the customer will receive.
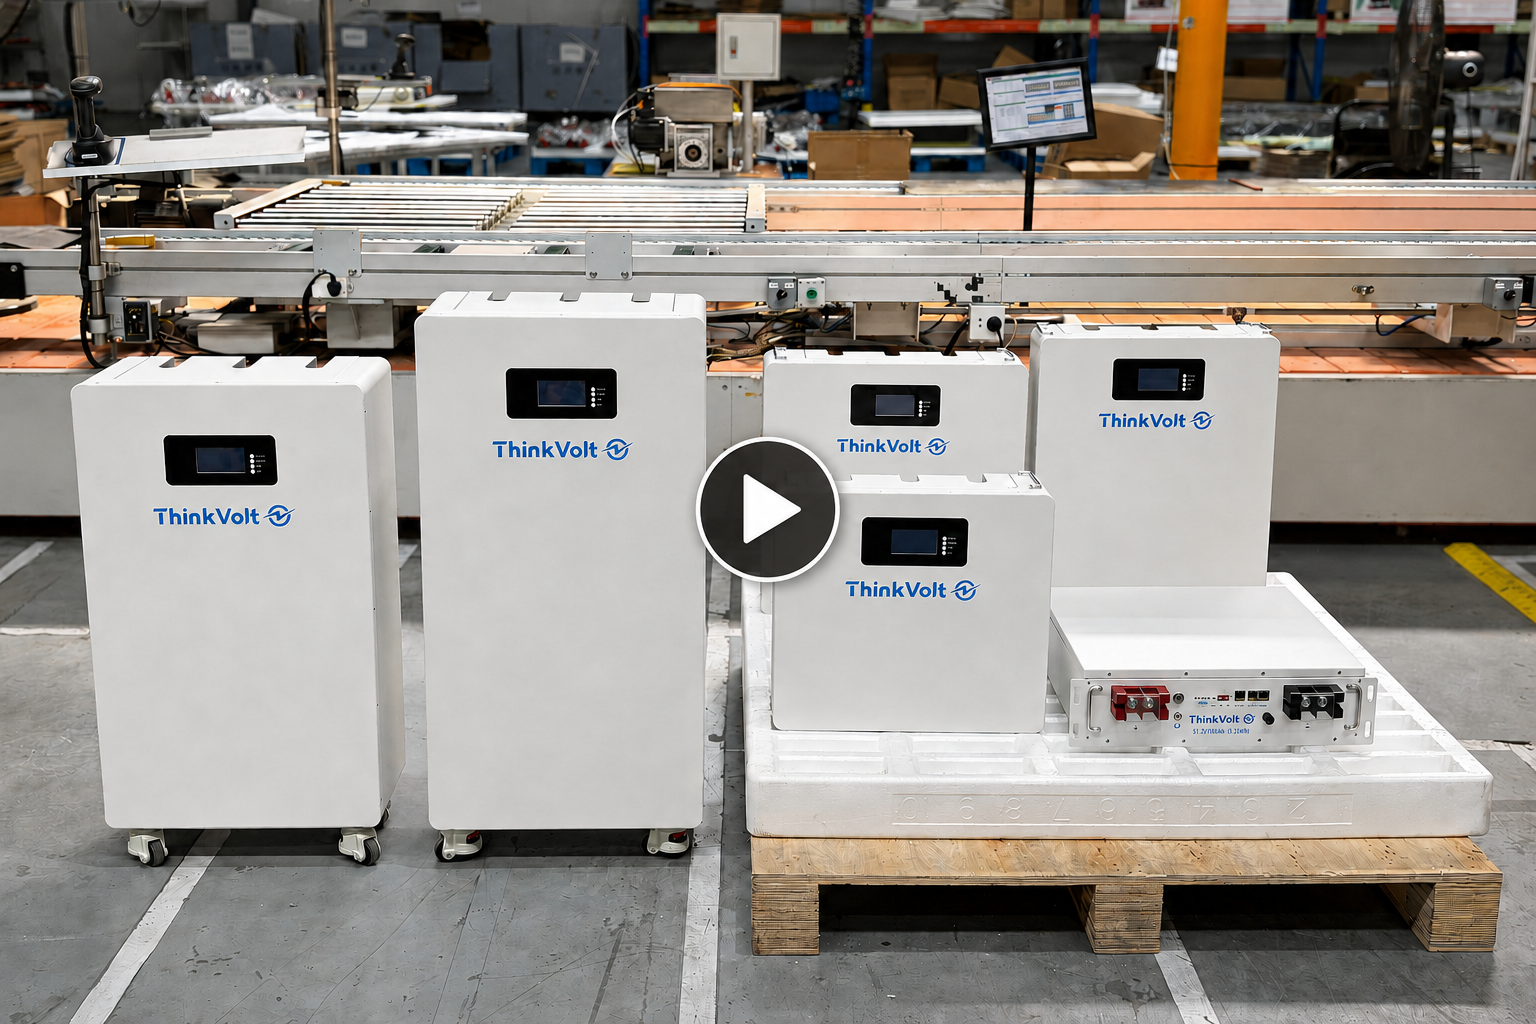
Unlike a smaller wall-mounted home battery, a 48V 300Ah floor-standing battery is a larger energy storage product.
To make the unit easier to position and move during installation, four wheels are installed at the bottom of the battery enclosure.
Each wheel is mounted and secured before the battery completes final assembly.
This floor-standing design provides a practical installation option for residential energy storage projects where a larger battery capacity is required.
After the top cover and wheels have been installed, the battery reaches its final form.
From the outside, customers see a clean floor-standing energy storage battery.
Inside, however, the finished product is the result of multiple production stages:
cell insulation and positioning, structural fixing, aluminum plate positioning, laser welding, cleaning, sampling wire installation, electrical assembly, charge and discharge testing, and final enclosure installation.
Each step has a different purpose, but together they determine how consistently the finished battery can be produced.
When buyers compare home energy storage batteries, the first things they often look at are specifications.
Voltage, capacity, inverter compatibility, communication protocols, cycle life, enclosure design, and price are all important.
But specifications only describe the finished product.
They do not show how the battery was actually built.
For distributors, installers, system integrators, and battery brands, understanding the production process can help answer several important questions:
How are the battery cells positioned and protected?
Are the cells mechanically secured inside the battery?
How are the cell connections made?
Is automated equipment used for critical production steps?
How is the internal wiring installed?
Is the battery tested after assembly?
What operating data is monitored during testing?
Is the production process suitable for repeatable batch manufacturing?
These questions become increasingly important when moving from a sample order to regular commercial supply.
A customer does not only need one battery that performs correctly. They need consistent products across future production batches as well.
That is why assembly, welding, wiring, testing, and production control are all important parts of choosing a home energy storage battery supplier.
ThinkVolt provides home energy storage battery solutions for distributors, installers, system integrators, battery brands, and OEM/ODM partners.
Whether you are sourcing finished floor-standing batteries or evaluating a long-term battery manufacturing partner, our team can provide product specifications, technical information, project support, and cooperation options based on your market requirements.
Interested in the 48V 300Ah floor-standing home battery?
Contact ThinkVolt to discuss your project, product specifications, pricing, distribution opportunities, or OEM/ODM requirements.
Tell us about your target market, application, required capacity, and estimated order quantity, and our team will help you identify a suitable home energy storage battery solution.