ThinkVolt at Solar & Storage Expo Pakistan 2026: Connecting with Pakistan’s Energy Storage Market
2026-07-23
Inside the battery, however, many different components need to work together.
Battery cells must be positioned correctly. Electrical connections need to remain stable. Sampling wires must be properly installed and organized. Busbars and terminals need to be securely fixed, and the front panel needs to be connected to the internal electrical system before the enclosure can finally be closed.
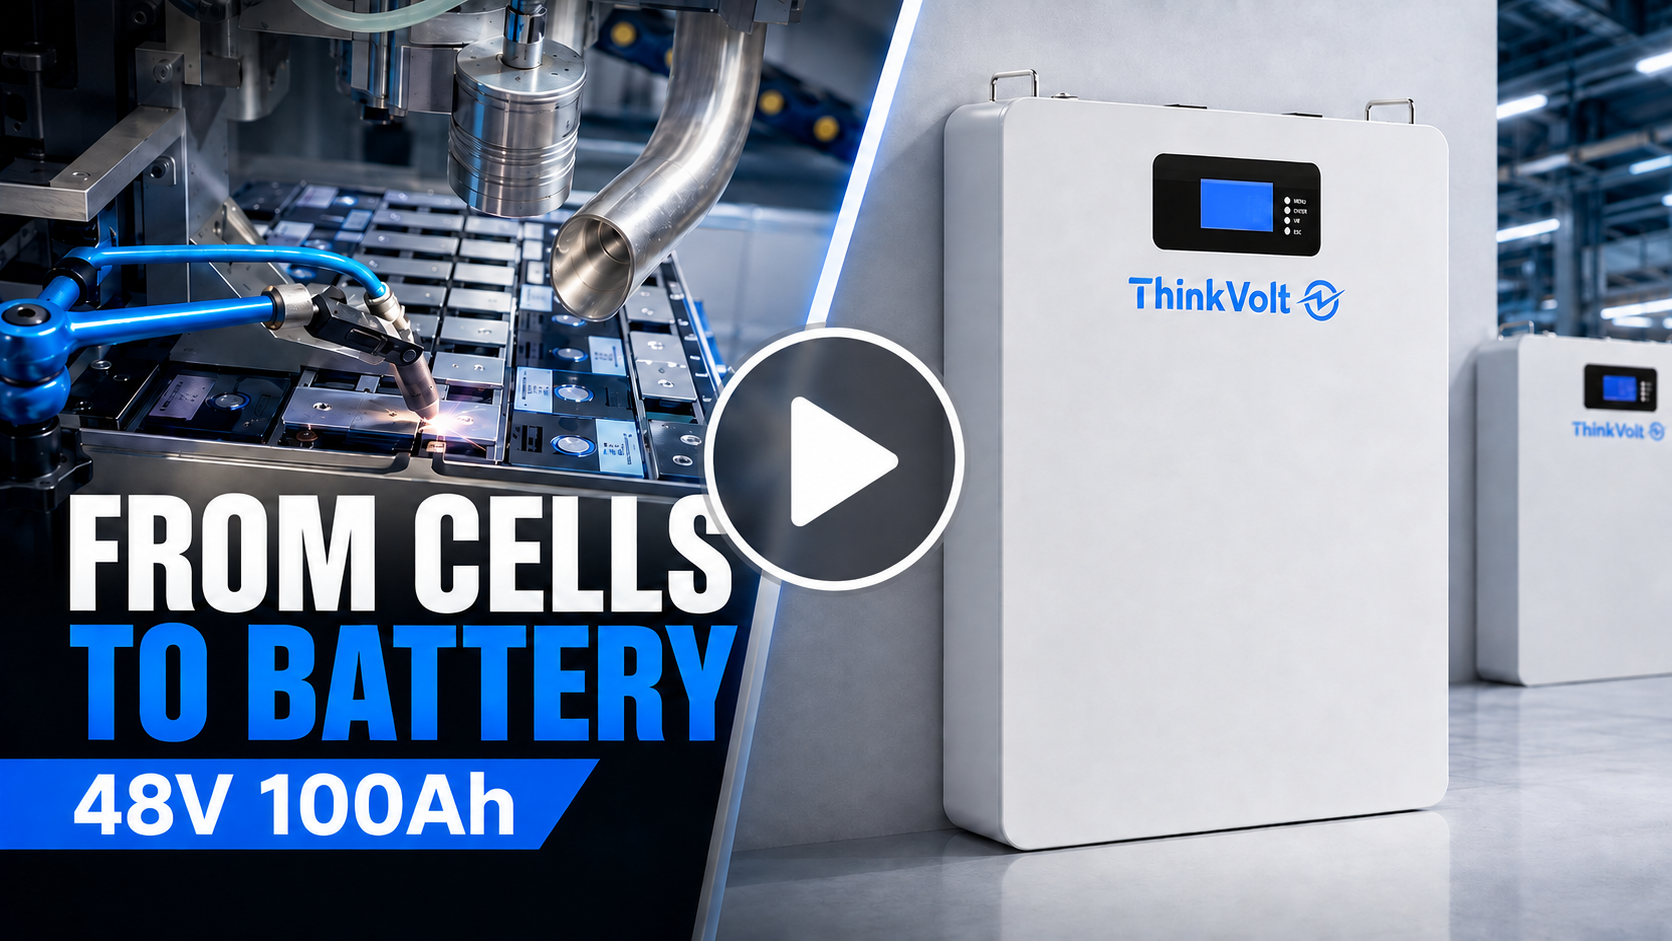
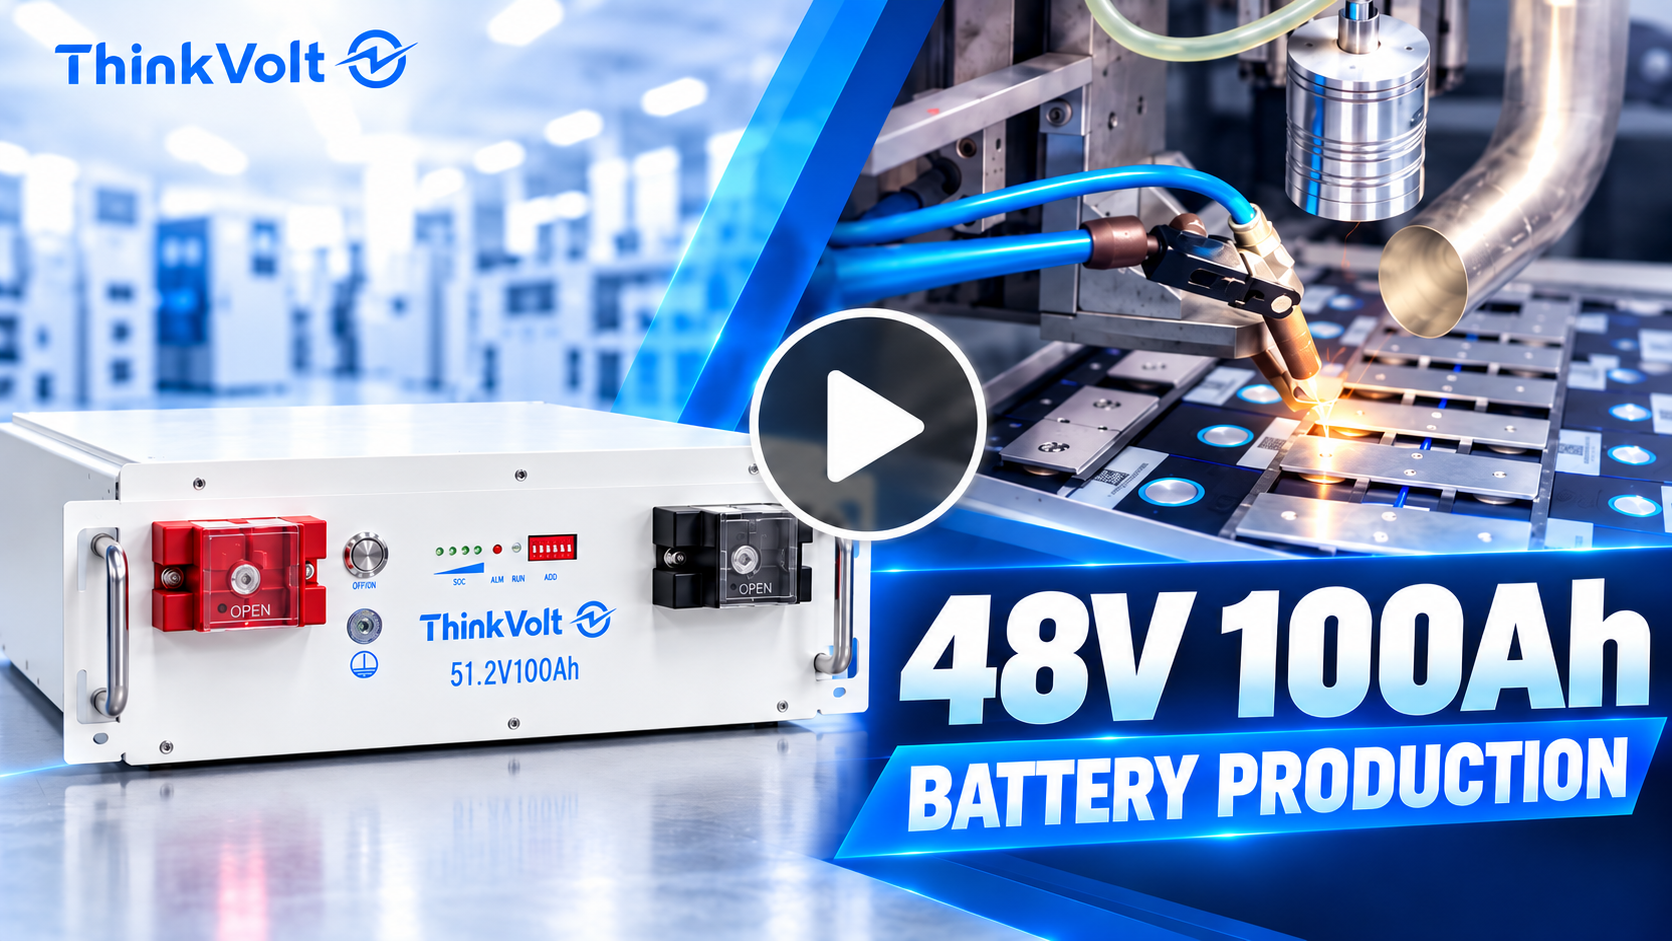
In this article, we take you inside the ThinkVolt production line to show how our 48V 100Ah rack-mounted LiFePO4 battery is assembled step by step — from the battery frame and cell installation to voltage testing, laser welding, internal wiring, busbar installation, front panel assembly, and final enclosure installation.
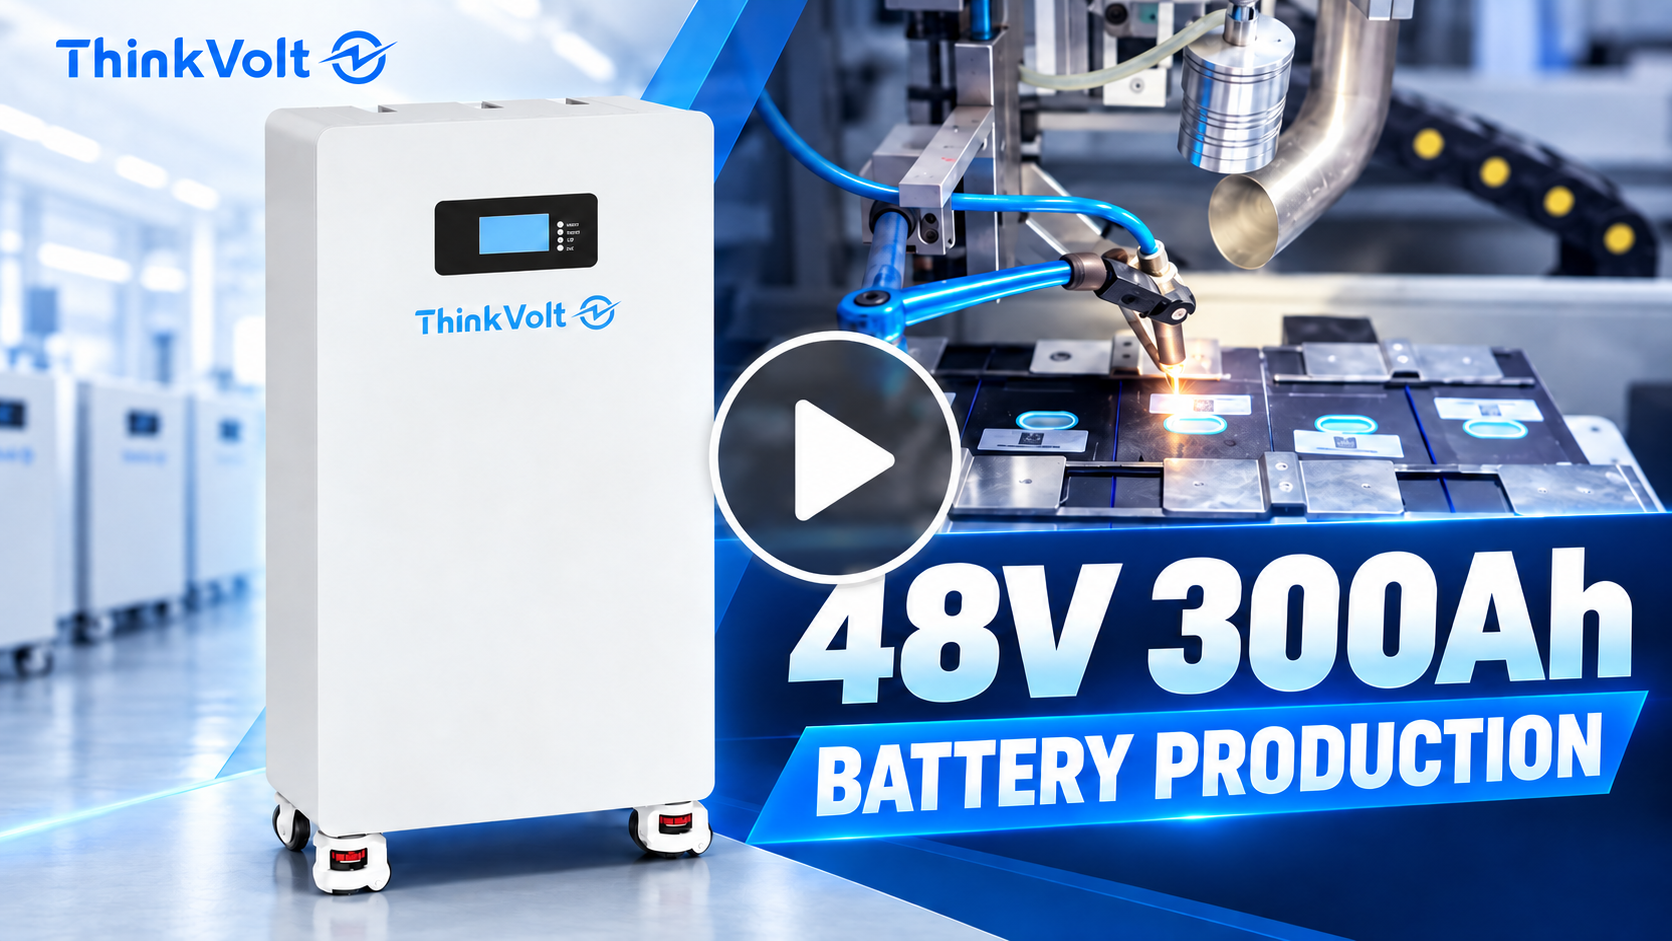
You can also watch the full production video to see each stage of the process in action.
Producing a rack-mounted lithium battery is not simply a matter of placing LiFePO4 cells inside a metal enclosure and connecting them together.
Each production stage affects the next one.
The internal frame determines how securely the cells are positioned. Cell voltage inspection helps confirm cell condition before further assembly. Aluminum connection plates need to be correctly positioned before laser welding. Sampling wires and electrical connections need to be properly organized before the battery can be closed.
For a battery manufacturer, the objective is not only to assemble one working battery.
The production process also needs to be repeatable so that batteries manufactured in different production batches can maintain consistent assembly quality.
Here is how the 48V 100Ah rack-mounted battery production process works.
The production process begins with the internal supporting structure of the battery.
Workers first install the circuit board on the outside of the battery cell holder.
The cell holder is constructed as a metal frame and provides the basic structural support for the battery cells.
After the circuit board has been installed, the entire metal frame is positioned inside the battery enclosure and secured with screws.
This step creates the internal structure required for the following assembly stages.
For a rack-mounted battery, structural organization is particularly important because the battery needs to fit into a relatively compact enclosure while still accommodating the cells, wiring, electrical connections, monitoring components, and front-panel interfaces.
A properly installed internal frame helps keep these components in their intended positions.
Once the internal frame has been secured, the battery cells are installed.
The cells are carefully placed inside the battery enclosure according to the required arrangement.
Separators are installed between neighboring cells.
These separators provide additional insulation between the cells and reduce direct friction between neighboring cell surfaces.
At the same time, the separators leave a certain amount of buffer space around the cells.
This is useful because battery cells may experience slight dimensional changes during operation, while the completed battery may also experience vibration during transportation and installation.
The objective is therefore not simply to fit as many cells as possible into the enclosure. The cells need to be positioned in an organized way that provides both structural stability and appropriate separation.
After the cells have been installed, each cell is checked individually.
Workers measure the voltage of the battery cells and record the corresponding data in the computer system.
This is an important quality-control step because it creates a record of the condition of individual cells before the battery continues through the remaining production stages.
Battery pack manufacturing involves many cells working together as one system.
If the condition of an individual cell is significantly different from the others, it can affect the overall battery pack.
Checking cell voltage during production therefore provides another opportunity to identify abnormal conditions before the battery reaches later assembly stages.
Voltage testing also supports cell traceability.
The production data is associated with the corresponding battery cell information.
If a cell-related issue needs to be investigated later, the production record can help trace the problem back to a specific cell or position inside the battery pack.
For battery distributors, system integrators, and OEM customers, traceability becomes increasingly important as order quantities increase.
With a single sample battery, troubleshooting may be relatively simple. In batch production, however, manufacturers need a more systematic way to record production information and investigate abnormalities.
Production records provide useful information for quality management, maintenance, and after-sales analysis.
After the cell inspection stage has been completed, workers begin preparing the electrical connections between the cells.
Aluminum connection plates are installed on top of the battery cells.
These plates connect the cells together according to the electrical configuration of the battery pack.
The connection plates used in this process include positioning holes.
These holes help workers accurately position the plates before welding.
Accurate positioning is important because the plate should remain in the correct location when the battery enters the welding process.
If a connection plate shifts or is incorrectly aligned, it may affect the following welding operation.
For this reason, connection plate positioning is not treated simply as a preparation step. It is part of the control process for creating consistent electrical connections between cells.
Once the aluminum connection plates have been correctly positioned, the battery pack is transferred to the laser welding machine.
Laser welding is then used to connect the aluminum plates to the battery cell terminals.
Compared with a process that relies mainly on manual welding, automated laser welding provides better control over the welding position and process.
The welding equipment can repeatedly follow the required welding locations across the battery pack.
This is particularly important in battery manufacturing because the goal is not simply to create one successful weld.
Multiple cells need to be connected, and the same production process needs to be repeated across many batteries.
Consistent welding can help create more stable electrical connections while reducing differences caused by manual operation.
For commercial battery production, this repeatability is especially important when moving from sample orders to regular batch supply.
Laser welding is followed by inspection.
Workers check the battery after the welding process has been completed.
The connection area and surrounding components are inspected before the battery continues to the next assembly stage.
The inside of the battery is also cleaned.
Small debris or remaining material from the production process is removed from the enclosure.
This may appear to be a simple step, but the internal area still needs to accommodate sampling wires, busbars, cables, and other electrical components.
Keeping the working area clean makes the following assembly stages easier and helps maintain a more organized internal structure.
After inspection and cleaning are completed, the battery is ready for internal wiring.
The next stage involves the battery sampling wires.
Before the sampling wires are fully organized, workers first install two metal support plates inside the battery.
These plates provide fixed positions for the sampling wire harness.
The support structure helps prevent the wires from remaining loose inside the enclosure.
This is particularly useful in a rack-mounted battery because internal space is relatively compact.
Cables need to follow an organized routing path so that they do not interfere unnecessarily with other electrical components or structural parts.
Once the support plates are installed, the sampling wires can be positioned and secured.
The sampling wires are then connected to the battery and fixed with screws.
These wires are part of the electrical monitoring system of the battery pack.
They provide the necessary connections between the battery cells and the monitoring and battery management components.
At this stage, the wiring may initially appear relatively loose.
The workers therefore continue organizing the wire harnesses after the electrical connections have been completed.
This illustrates an important difference between simply making an electrical connection and completing a production-ready wiring installation.
A connection may work electrically, but the wiring still needs to be routed, fixed, and organized properly inside the battery enclosure.
After the sampling wires have been connected, workers arrange the wire harnesses along the installed metal support plates.
The wires are fixed in position so that they do not move unnecessarily inside the battery.
The harness is then wrapped and organized using tape.
This helps keep the wiring layout neat and makes the internal structure easier to manage.
Proper wire organization can also help reduce unnecessary contact, pulling, or movement of the wiring during transportation, installation, and normal operation.
For production technicians, an organized wiring layout also makes inspection and troubleshooting more straightforward.
Instead of allowing cables to cross freely throughout the enclosure, each harness follows a more controlled path.
After the sampling wire installation has been completed, workers begin installing the copper busbars.
The copper components form part of the battery's main electrical connection system.
They are positioned at the required connection points and fixed using screws.
As with the aluminum connection plates installed earlier, the reliability of these connections depends on correct positioning and secure fastening.
High-current electrical connections need to remain mechanically stable during battery operation.
For this reason, workers do not simply insert the screws manually and move on to the next stage.
The fasteners need to be tightened according to the production process.
A dedicated screw-tightening tool is used to tighten the connection points one by one.
This provides better control than relying only on ordinary manual tightening.
In battery pack assembly, screw connections are used in several important areas.
If a connection is too loose, it may not provide the required mechanical stability.
Production therefore needs a repeatable fastening process.
Using dedicated tightening tools helps workers complete the connections more consistently across multiple batteries.
This is another example of how battery production quality depends not only on the major components but also on small assembly details.
A battery contains many individual connection points, and each one needs to be completed correctly.
Once the main internal electrical assembly has been completed, the front panel is installed.
For a rack-mounted battery, the front panel is especially important because it forms the main external interface between the battery and the user or energy storage system.
Depending on the configuration, the panel contains components such as:
· Power terminals
· Switches
· Battery status indicators
· Communication interfaces
· Address or configuration switches
· Other operating and connection components
Workers carefully position the front panel on the battery enclosure and secure it in place.
The battery now begins to take on the appearance of a finished rack-mounted energy storage module.
However, the panel still needs to be electrically connected to the internal system.
After the front panel has been installed mechanically, workers connect the panel to the internal circuit board using cables.
These internal connections allow the external switches, communication interfaces, indicators, and other components to interact with the battery management and electrical system.
At the same time, the remaining cable harnesses are organized and secured.
This is important because the front area of a rack-mounted battery contains several different interfaces within a limited amount of space.
Keeping the wiring controlled and organized helps prevent cables from interfering with the enclosure or other components.
Once these connections have been completed, most of the internal electrical assembly is finished.
The final assembly stage shown in the production process is the installation of the top cover.
Workers position the cover over the battery enclosure and secure it with screws.
The cover encloses the battery cells, electrical connections, busbars, sampling wires, circuit board, and other internal components.
It also helps protect the internal battery system from external dust and moisture during normal storage and operation.
At this point, the individual cells and internal components that were visible throughout the production process are enclosed inside a complete rack-mounted battery.
The product is now ready for the following inspection, testing, packaging, or delivery procedures according to the production and quality-control requirements.
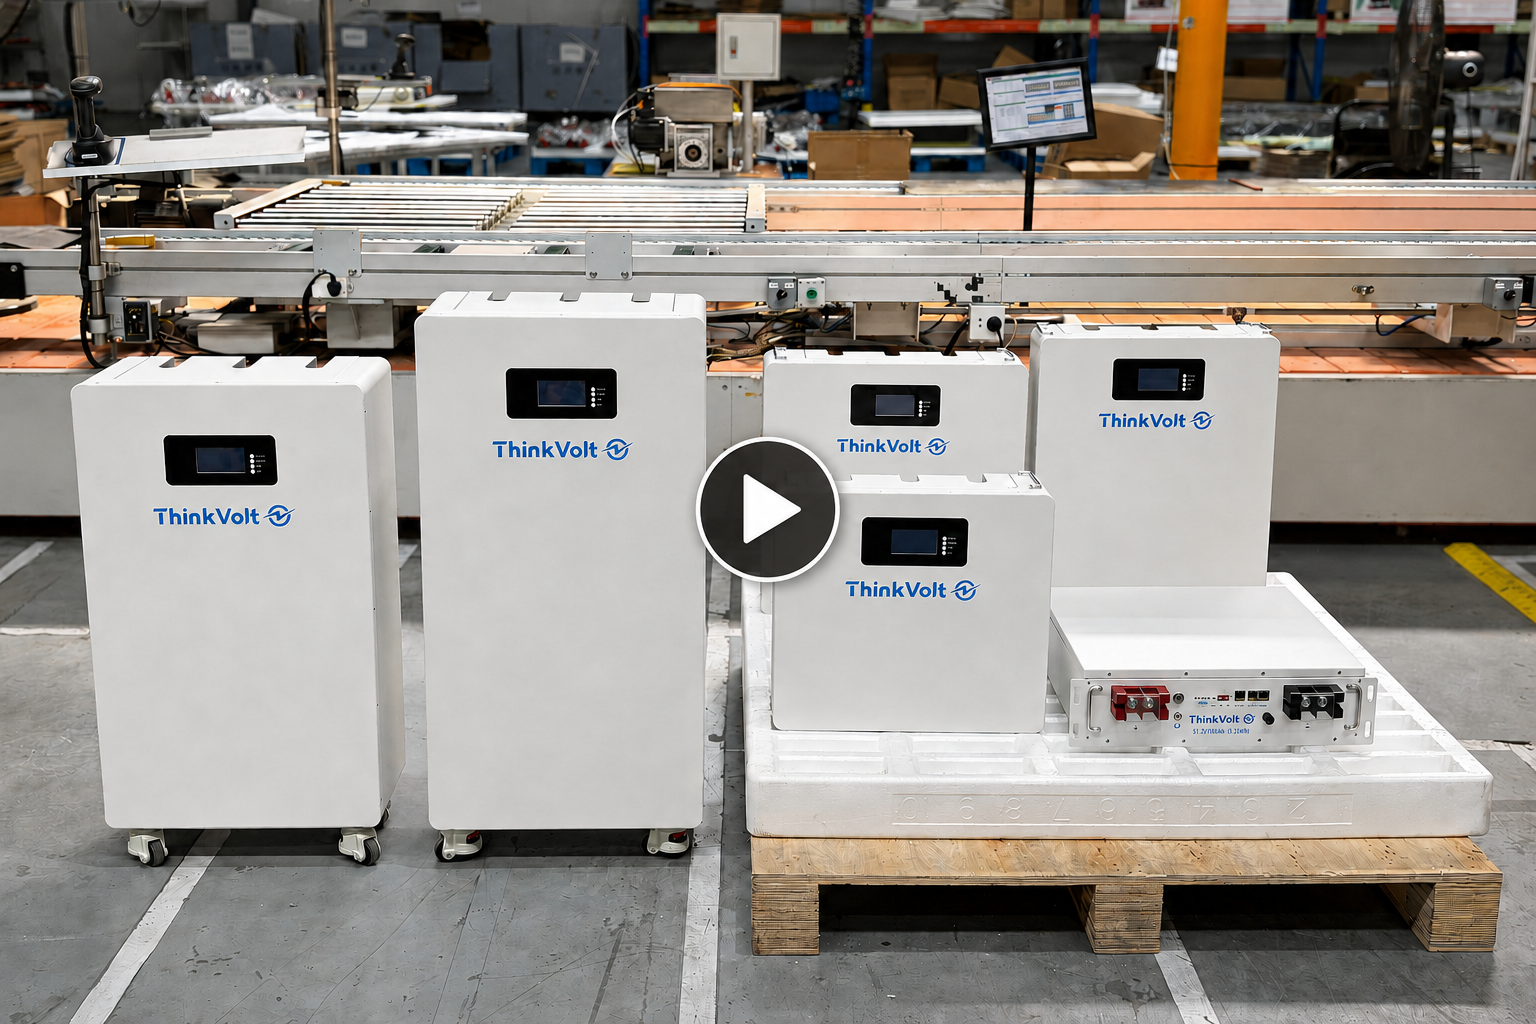
From the outside, the completed battery appears to be a relatively compact rack-mounted energy storage module.
Inside that enclosure, however, the finished battery is the result of many individual production stages.
The process includes:
· Internal frame and circuit board installation
· Cell placement and insulation
· Individual cell voltage testing
· Cell data recording and traceability
· Aluminum connection plate installation
· Automated laser welding
· Post-welding inspection and cleaning
· Sampling wire support installation
· Sampling wire connection and organization
· Copper busbar installation
· Controlled screw tightening
· Front panel installation
· Internal cable connection
· Final top-cover installation
Each stage serves a different purpose.
Together, they transform individual LiFePO4 cells and electrical components into a complete 48V 100Ah rack-mounted battery system.
When customers compare lithium batteries, product specifications usually receive the most attention.
Voltage, capacity, cycle life, BMS functions, communication protocols, dimensions, warranty, and price are all important.
But these specifications describe what the finished battery is supposed to provide. They do not show how the battery was manufactured.
For distributors, installers, battery brands, and system integrators, understanding the production process can reveal additional information about the supplier.
For example:
· Are the cells properly positioned and separated?
· Are individual cell voltages checked during production?
· Can production data be traced?
· How are the cell connections made?
· Is automated equipment used for welding?
· Are wiring harnesses properly secured?
· How are high-current connections tightened?
· How is the front panel integrated with the internal system?
· Is the process suitable for repeatable batch production?
These questions become more important when a customer moves beyond a sample order.
For commercial projects, customers usually need multiple batteries manufactured over different production batches.
In that situation, manufacturing consistency becomes part of product quality.
A well-defined production process helps manufacturers repeat the same assembly steps and quality-control procedures across larger production quantities.
This is why battery sourcing should not focus only on the specification sheet.
How the battery is assembled, connected, inspected, and documented also matters.
Rack-mounted batteries are designed to integrate efficiently into battery cabinets and modular energy storage systems.
Their standardized enclosure format allows multiple battery modules to be installed together, making it easier to build systems with different storage capacities.
For distributors and system integrators, this modular approach can provide greater flexibility.
A project can begin with a smaller number of battery modules and expand by adding additional compatible units according to the system design.
The rack-mounted format can also simplify equipment-room organization because batteries can be installed in structured cabinets instead of being placed individually around the installation area.
For residential, telecom, backup power, and small commercial energy storage applications, this makes rack-mounted LiFePO4 batteries a practical option where modularity and installation flexibility are important.
ThinkVolt provides lithium battery solutions for distributors, installers, system integrators, battery brands, and OEM/ODM partners.
Whether you are sourcing finished rack-mounted batteries or evaluating a long-term battery manufacturing partner, our team can provide product specifications, technical information, production support, and cooperation options based on your market requirements.
Interested in our 48V 100Ah rack-mounted LiFePO4 battery?
Contact ThinkVolt to discuss your required specifications, pricing, order quantity, application, distribution plans, or OEM/ODM requirements.
Tell us about your target market and energy storage project, and our team will help you evaluate a suitable battery solution.